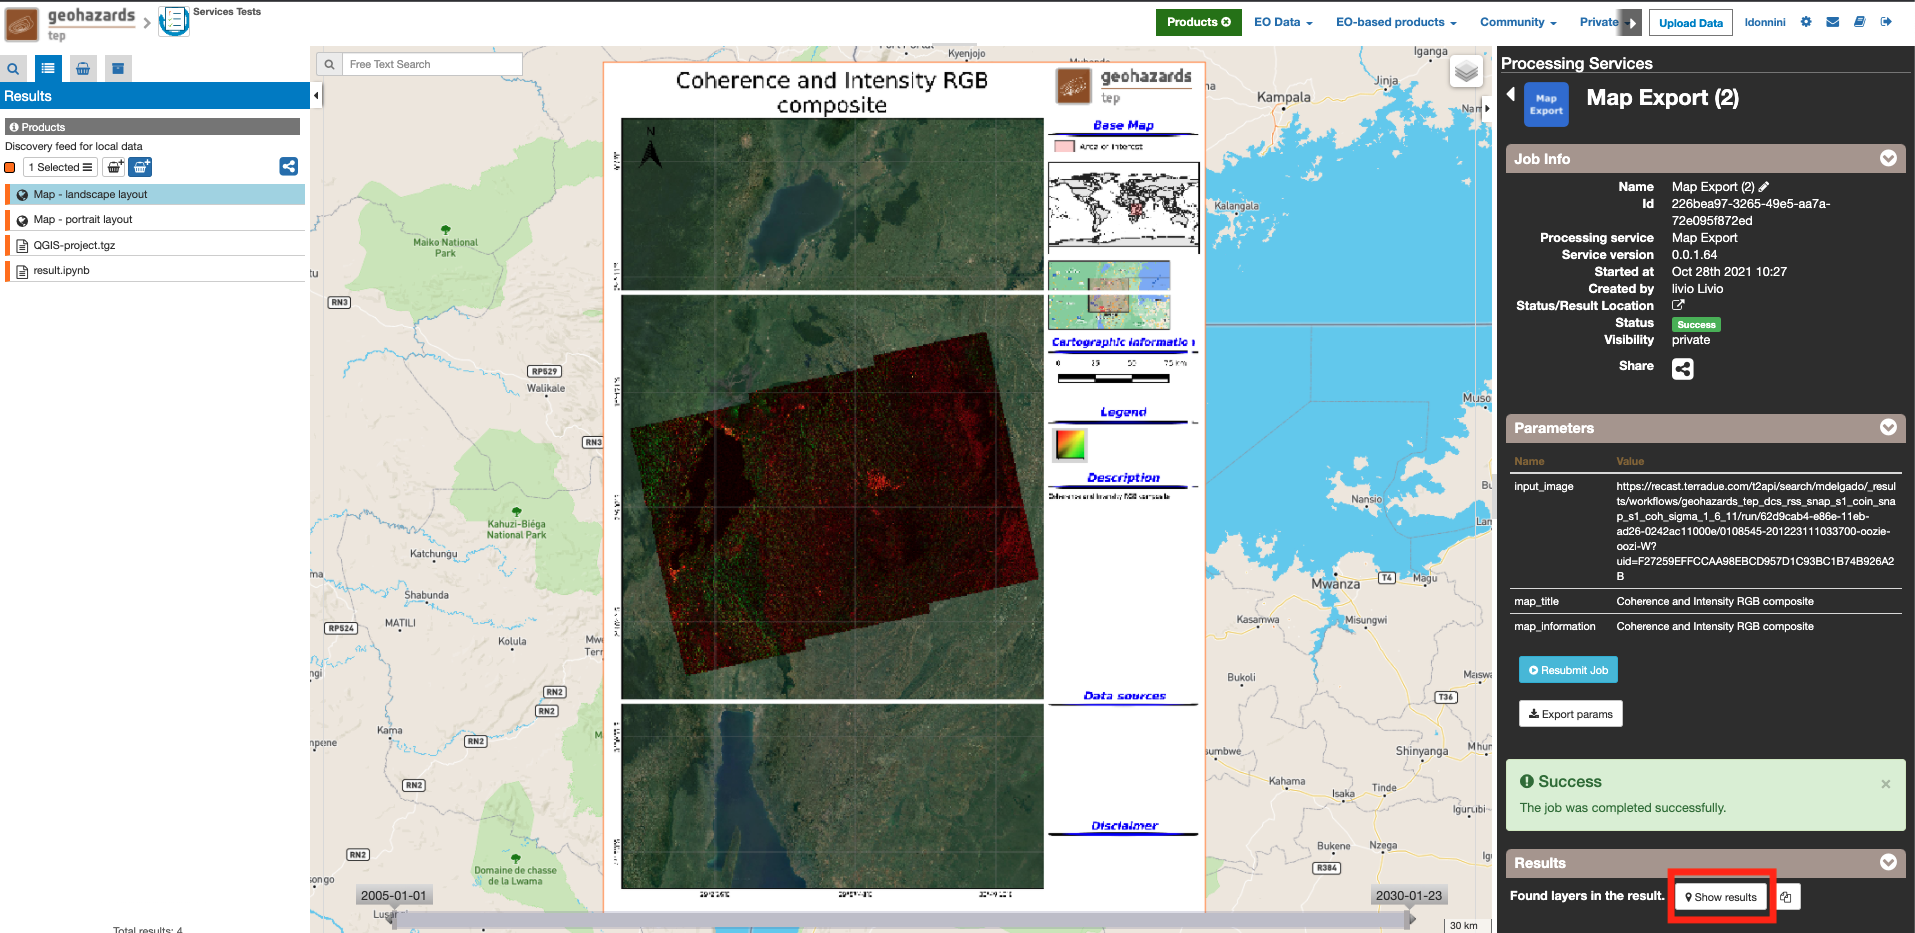
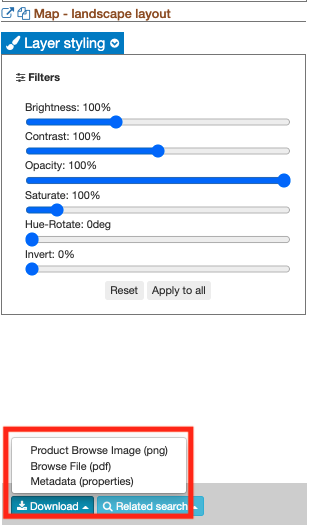
This service allows to export images/results generated on the GEP as a high resolution map for a publication, promotion activities or work on a GIS desktop software. The input image must be in geoTIFF format. The output map is generated on a templated document with the dataset juxtaposed on the background map in the order of inputs provided, for the defined extent and shows the specified title, description, credits, logo and copyright. The service generates as output:
- a map in PNG format (including a PNG world file)
- a map in PDF format
- a compressed archive with a QGIS project
Inputs supported
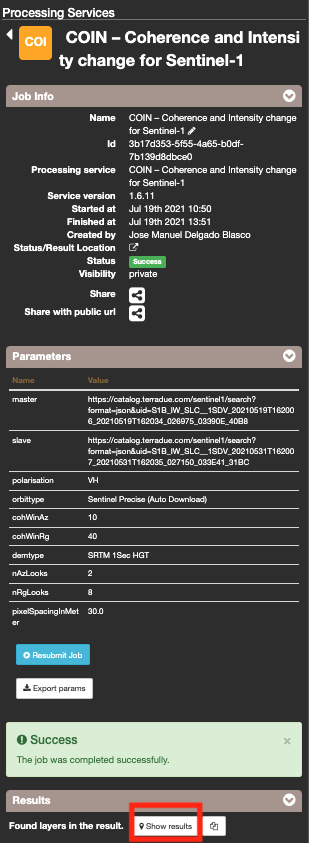
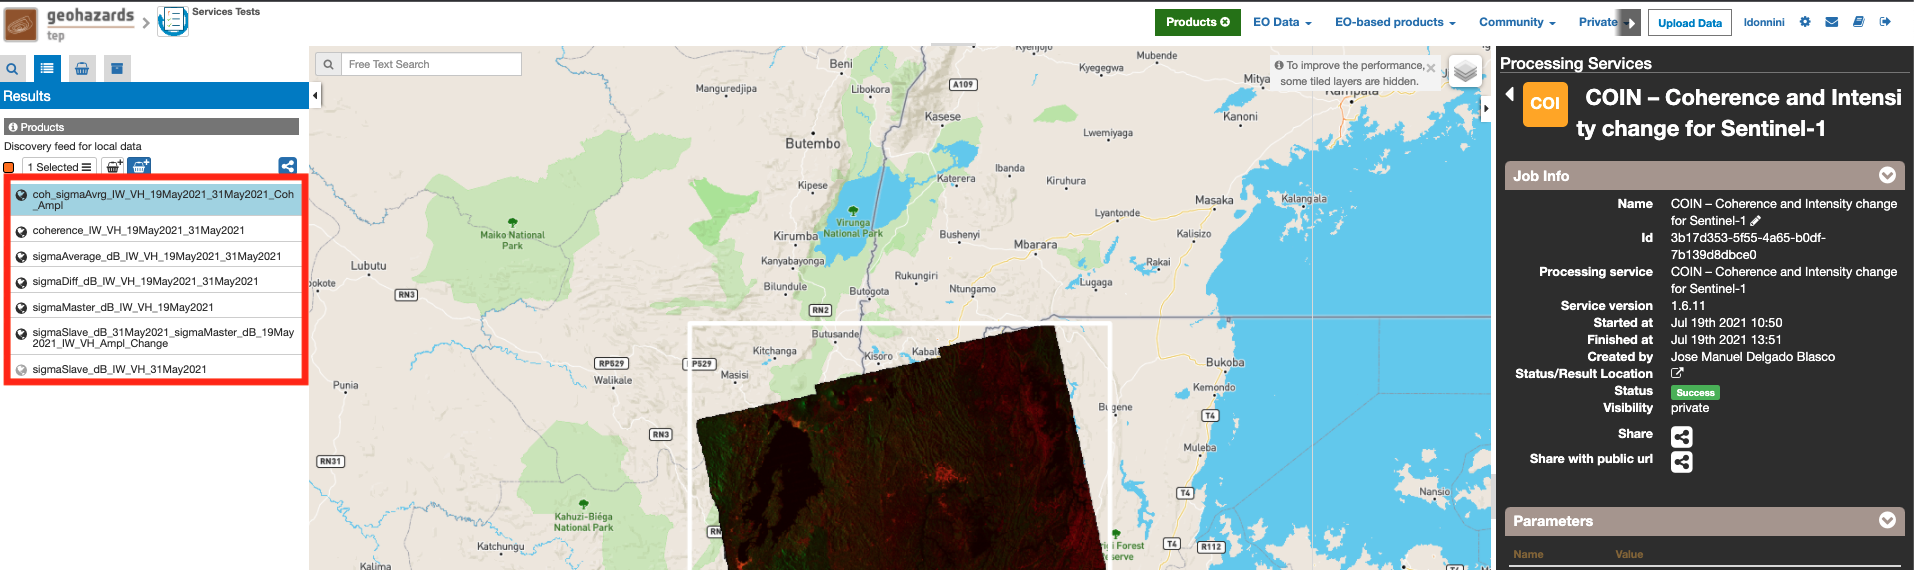
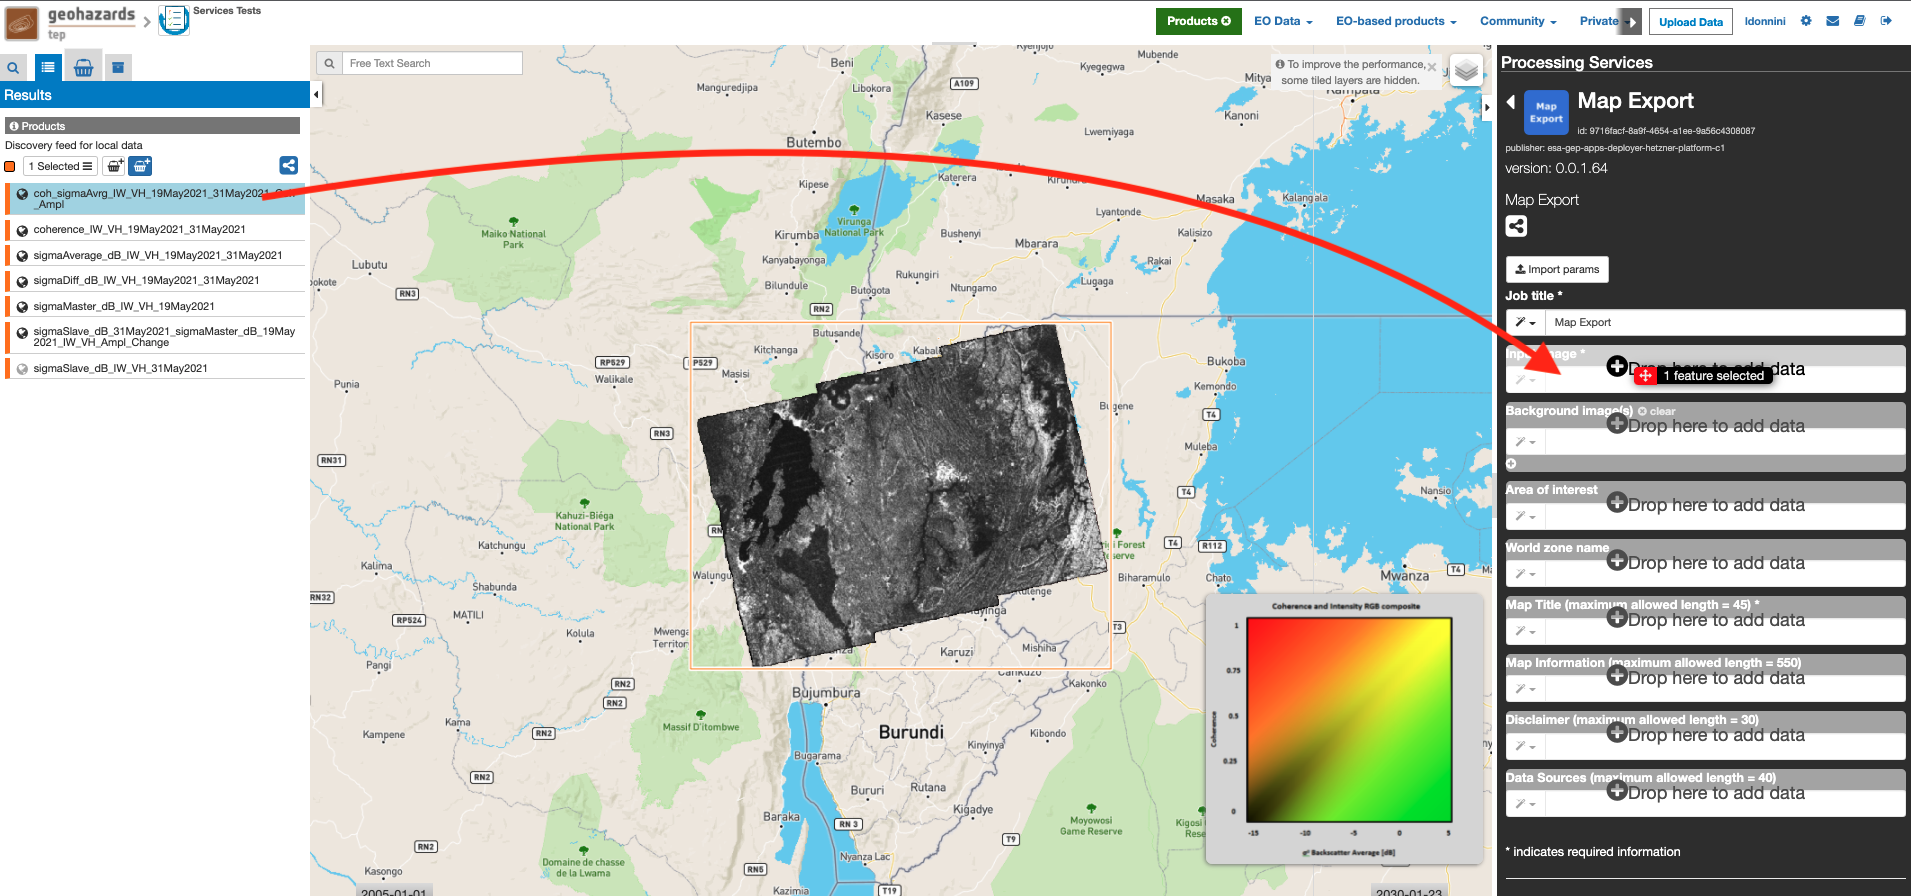
This service supports as input the outputs of other GEP services (e.g. the entries listed when using the “show results” button in the job info panel), provided these are generated in geoTIFF format. The image that is the subject of the map must be passed as the Input image parameter.
Output specifications
The service provides the following output products:
| Output – Map - portrait layout | |
|---|---|
| Information type | Map in portrait layout |
| Format | PNG and PDF |
| Output Filename example | Map - portrait layout |
| Output – Map - landscape layout | |
|---|---|
| Information type | Map in landscape layout |
| Format | PNG and PDF |
| Output Filename example | Map - landscape layout |
| Output – QGIS-project | |
|---|---|
| Information type | QGIS zip file |
| Format | GNU Zip (gzip) compression on a TAR archive |
| Output Filename example | QGIS-project |
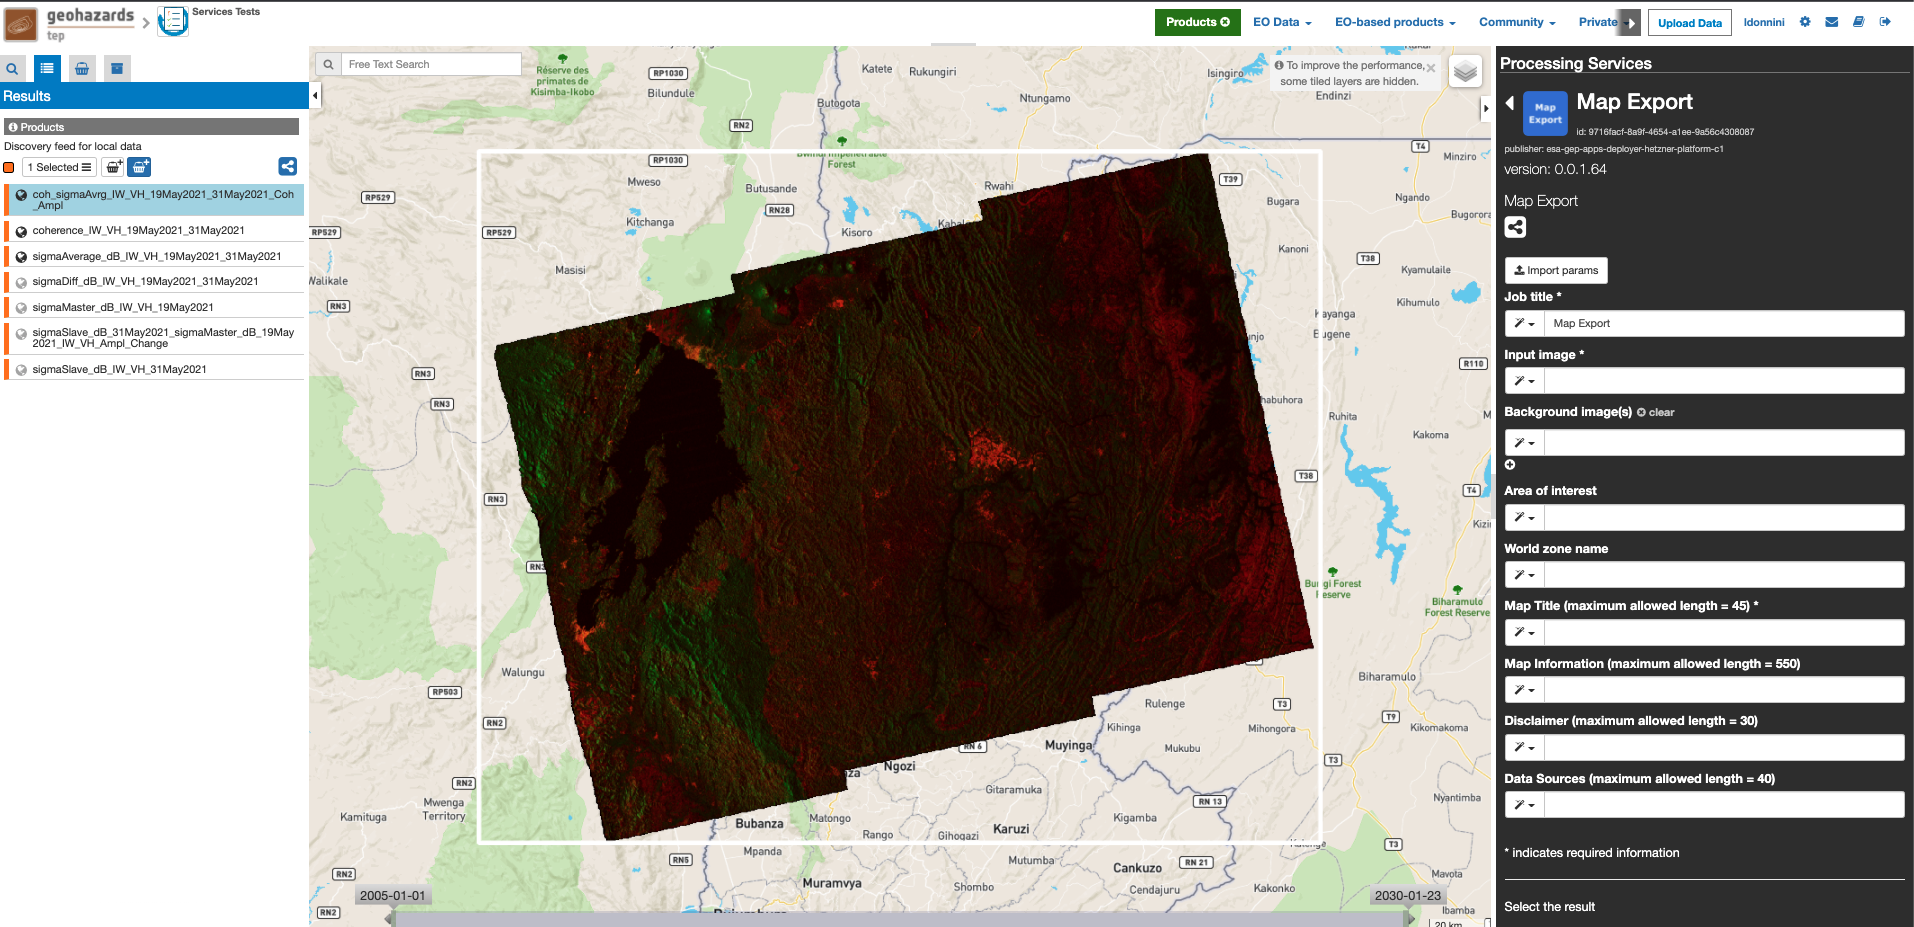
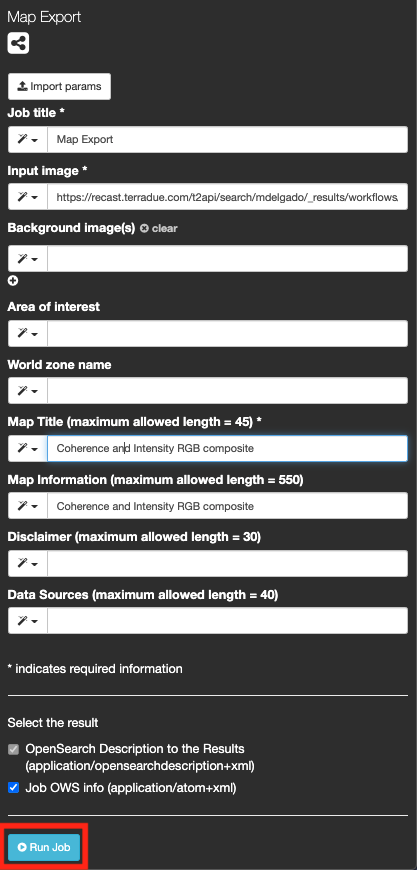
The input parameters to provide are:
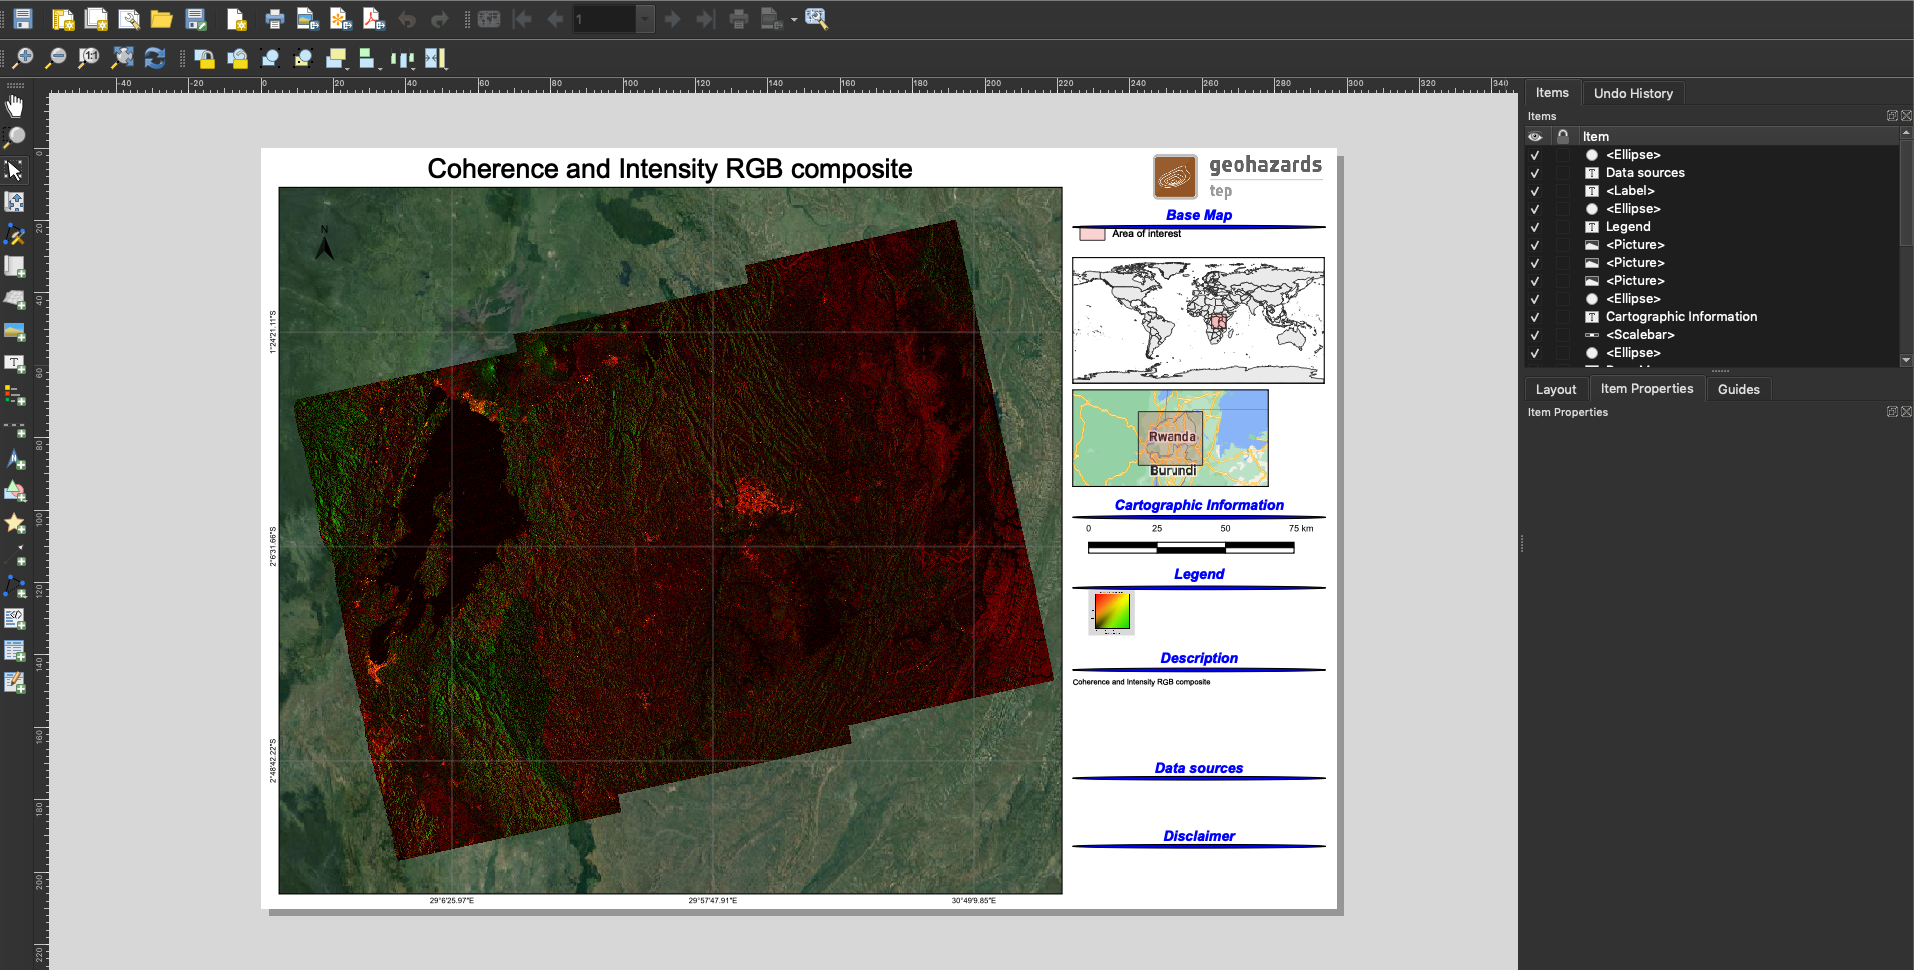
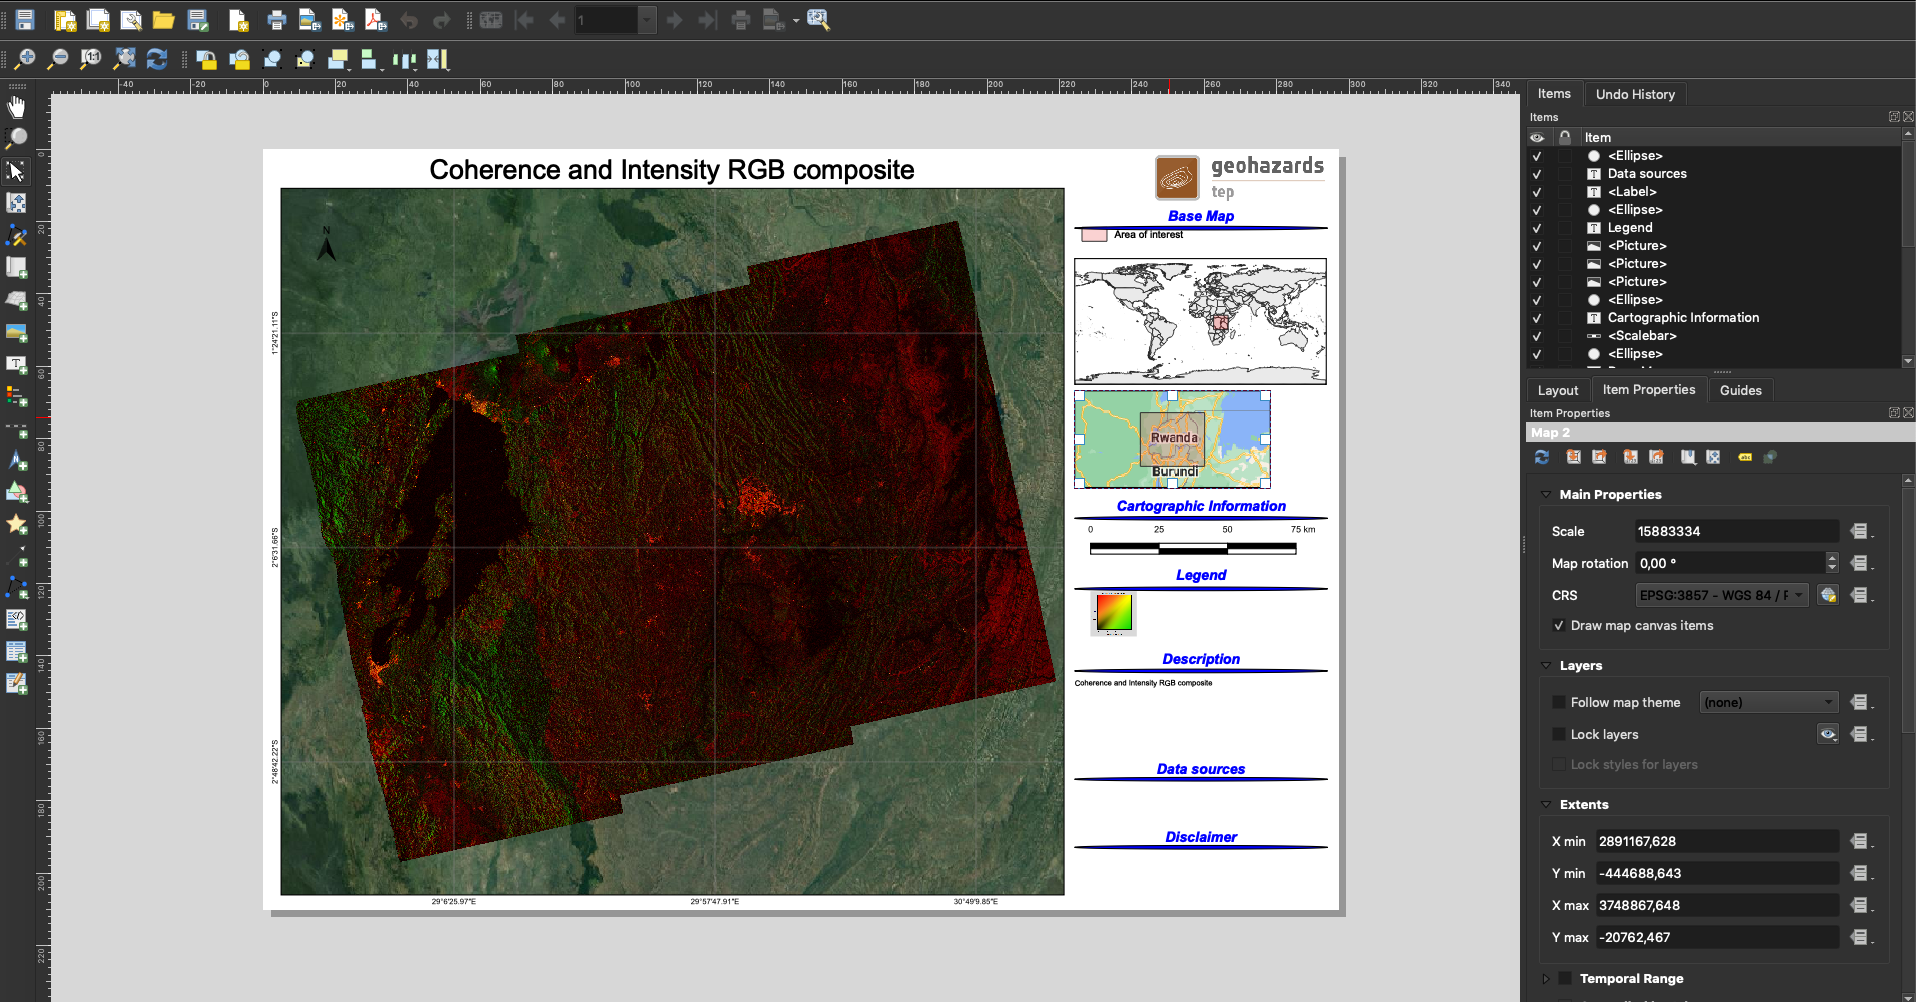
- Input image (mandatory): represents the output of the job that is the main subject of the map to be generated. E.g. in the tutorial exmaple with the COIN service, it is the Coherence and Intensity RGB composite.
- Background image(s) (not mandatory): secondary results of the job to be used as background or to overlay multiple images.
Note
The Background image(s) input parameter allows adding a background layer to the map. If this parameter is left empty, google maps will be used as the background layer.
- Area of interest (not mandatory): specify the AOI of the input image considered for the genration of the map.
- World zone name (not mandatory): name of the geographical area of the map that, if specified, appears in the legend of the final results. If not specified, the field will be filled in by the string: “Area of interest”.
- Map Title (mandatory): the title of the generated map.
Note
The length of the string must be less than or equal to 45 characters.
- Map Information (not mandatory): description of the service that is used as input for the QGIS service.
Note
The length of the string must be less than or equal to 550 characters.
- Disclaimer (not mandatory): a formal statement saying that you are not legally responsible for something
Note
The length of the string must be less than or equal to 30 characters.
- Data source description (not mandatory): description of the products used as input (Sentinel-1, Sentinel-2, etc.)
Note
The length of the string must be less than or equal to 40 characters.

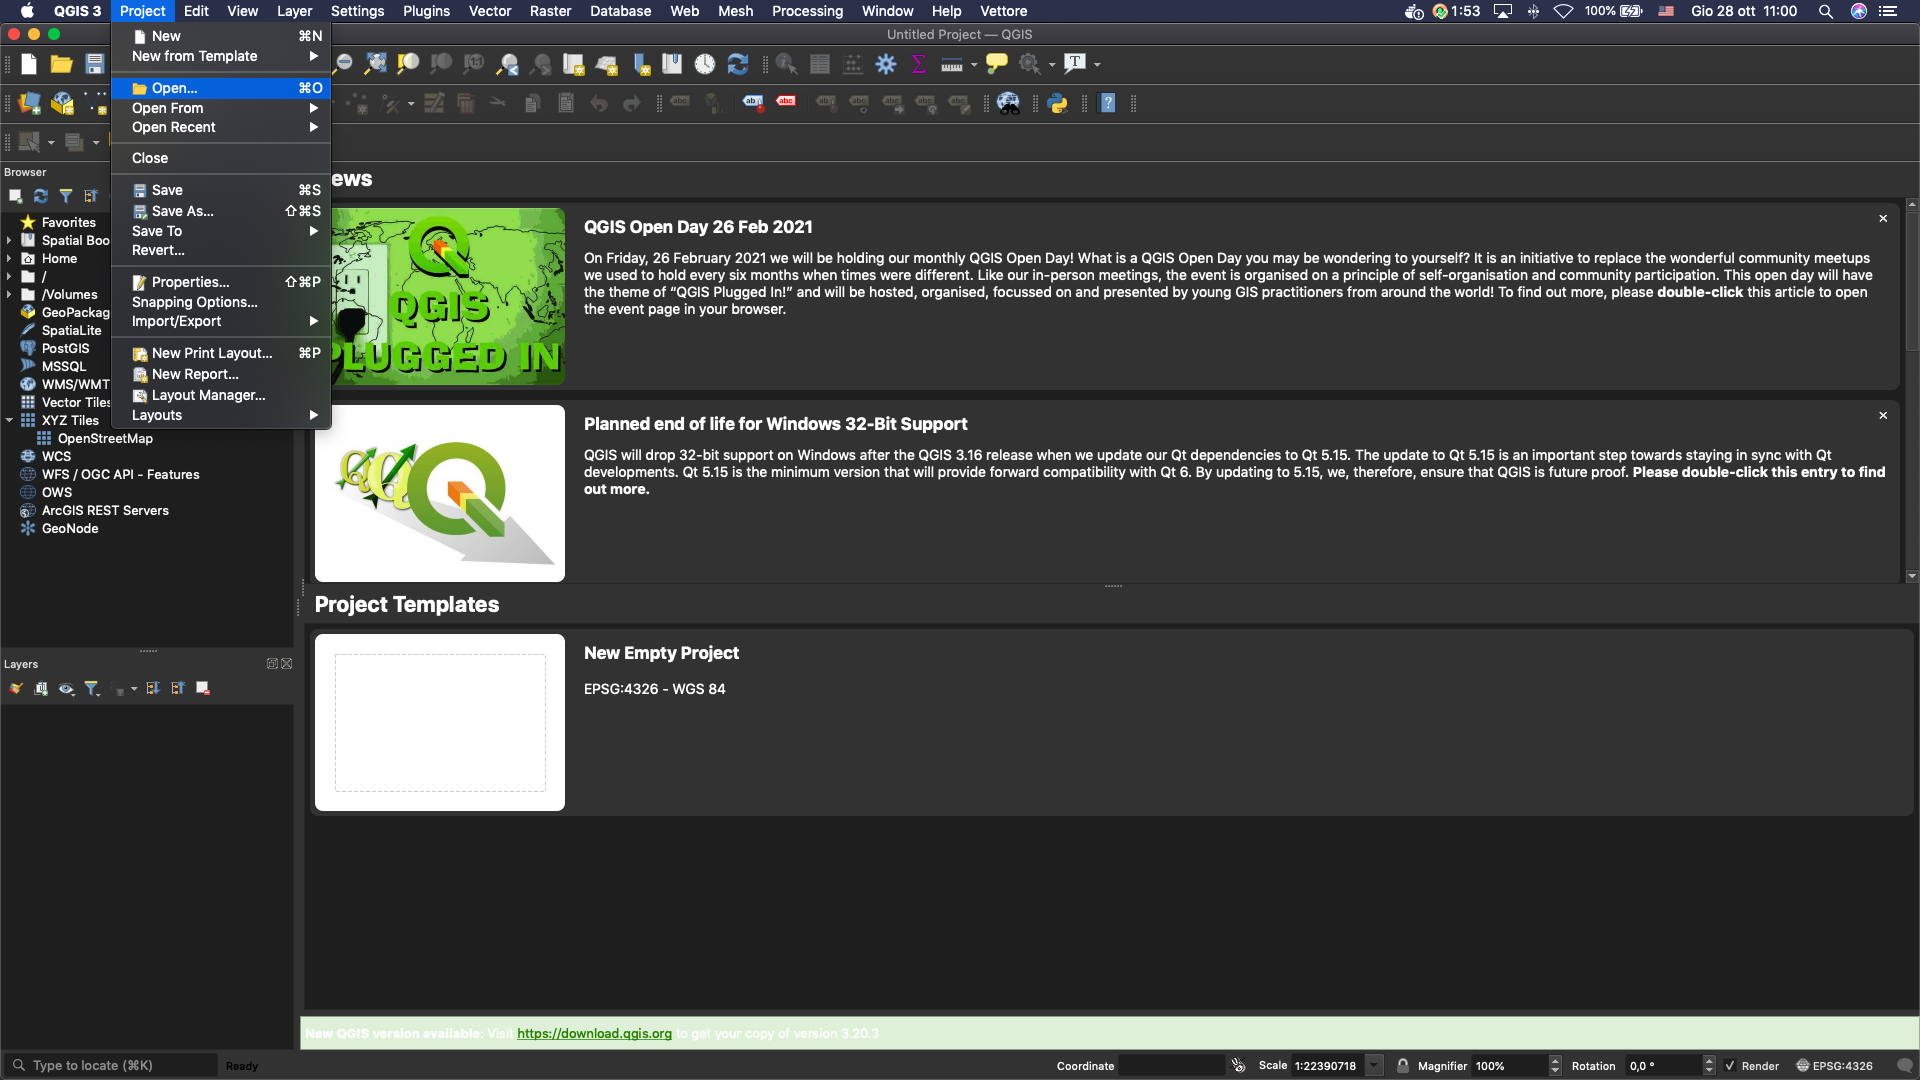
In this project we integrated the QGIS software among our services.
Once downloaded and extracted, the QGIS project can be opened with QGIS.
To access the layouts, you need to download the QGIS project and open it with QGIS.
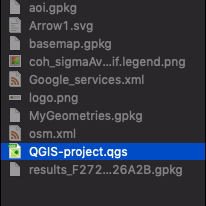
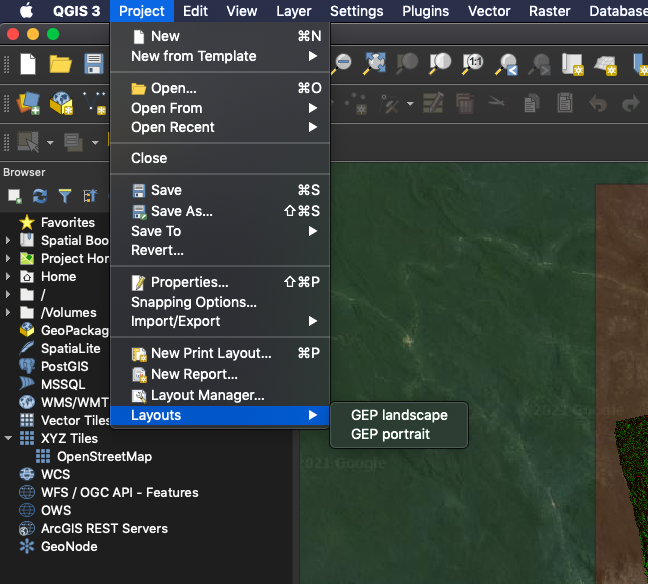
Therefore, you can now make all the changes and then save them.
