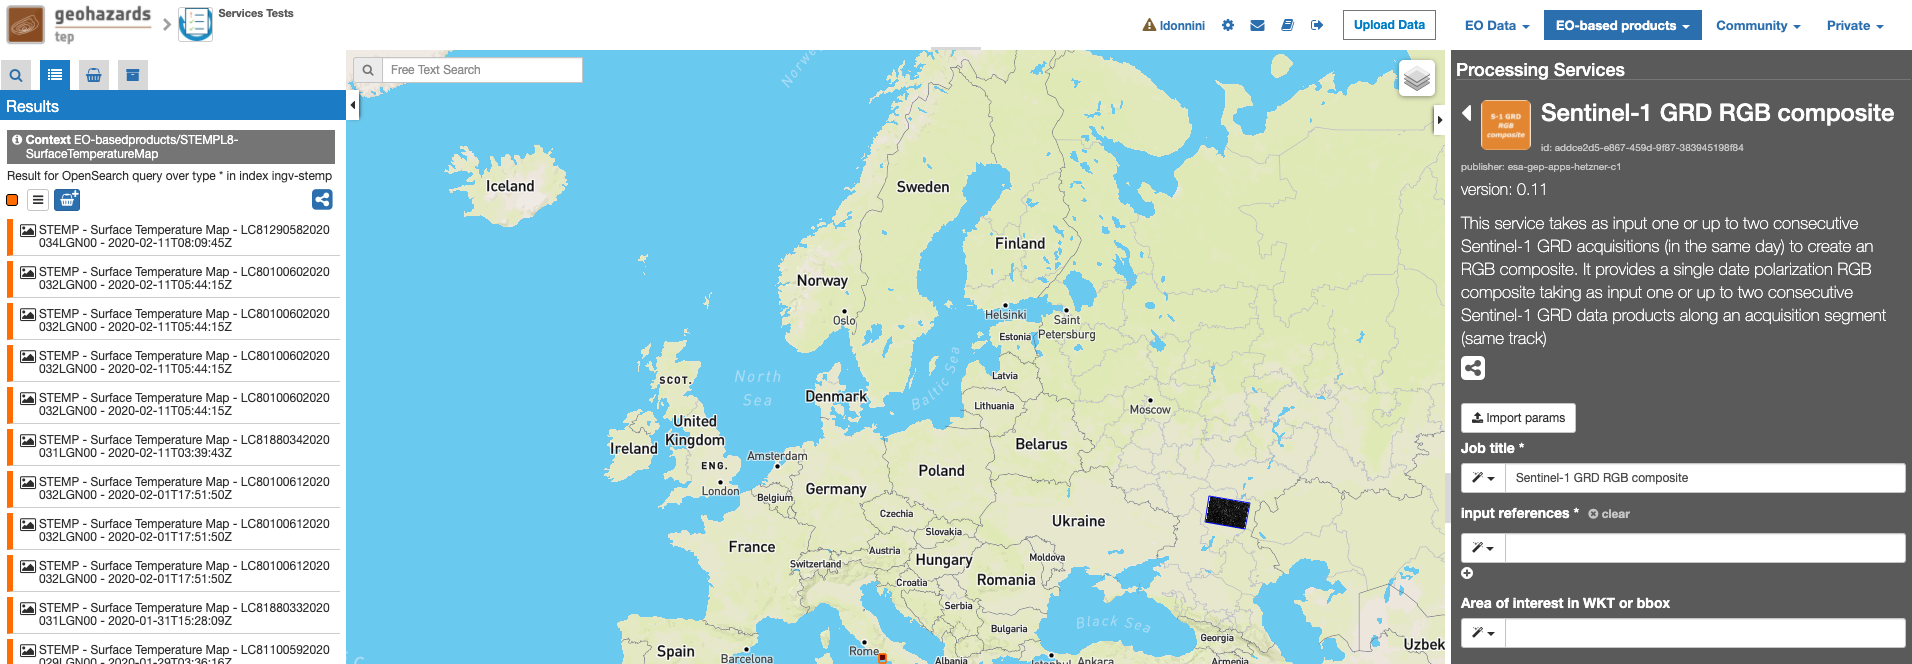
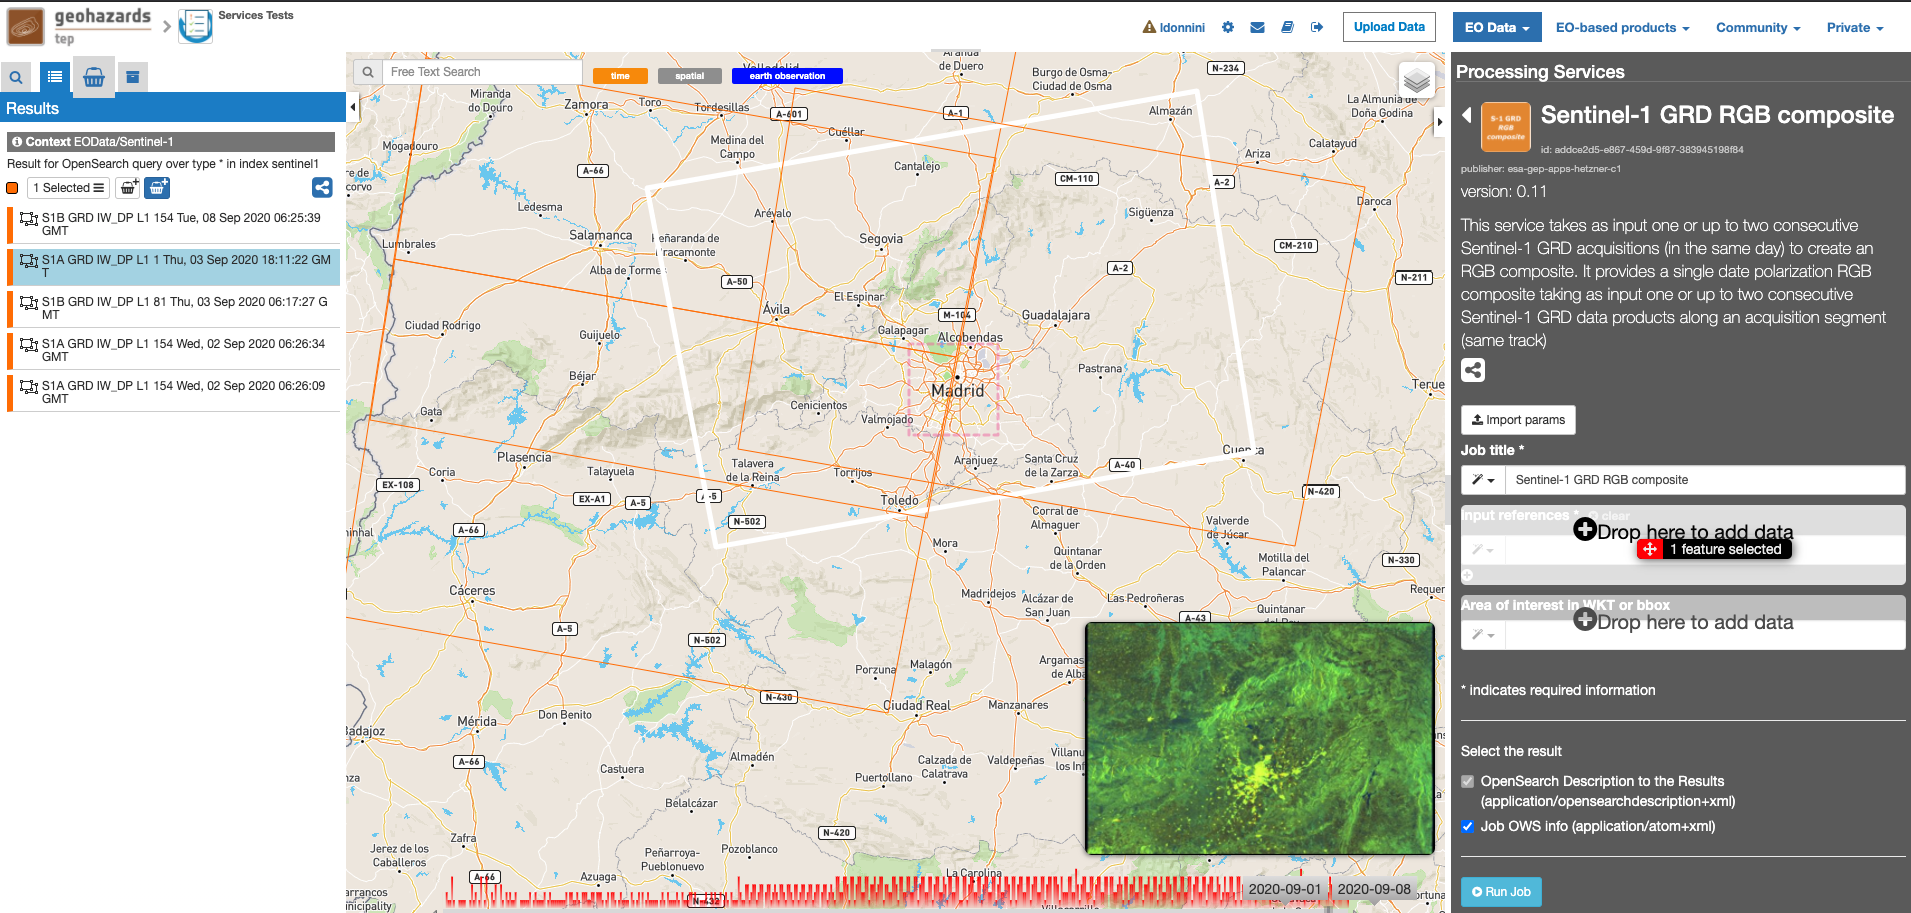
Sentinel-1 Level-1 GRD RGB composite
This service takes one or up to two consecutive GRD Sentinel-1 Level-1 acquisitions (on the same day) as input to create an RGB composite. The RGB is based on Sentinel-1 polarization. More specifically:
Furthermore, the service offers the possibility to put two input products to make the slice-assembly. For the slice-assembly the two Sentinel-1 GRD data products must be same track, same day and consecutive.
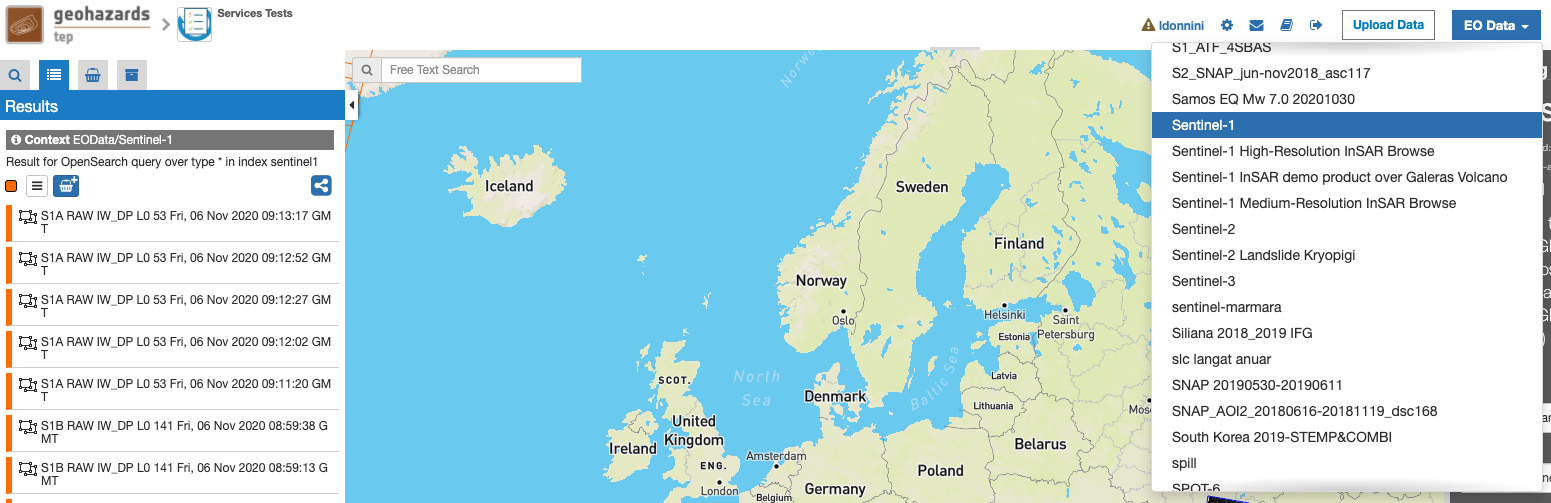
EO sources supported
This service supports as input the Sentinel-1 Level-1 GRD products.
DEM Type
The Copernicus DEM (CDEM) is used.
Output specifications
The service provides the following output product.
| Output – Sentinel-1 Level-1 GRD RGB composite | |
|---|---|
| Correspondent file | Sentinel-1 Level-1 GRD RGB composite |
| Raster format | GeoTIFF |
| resolution | Native |
| Projection types | EPSG:3857 - WGS84 – Pseudo Mercator |
| Output Filename example | S1A_IW_GRDH_1SDV_20200903T181136_20200903T181141_03F910_6B20 |
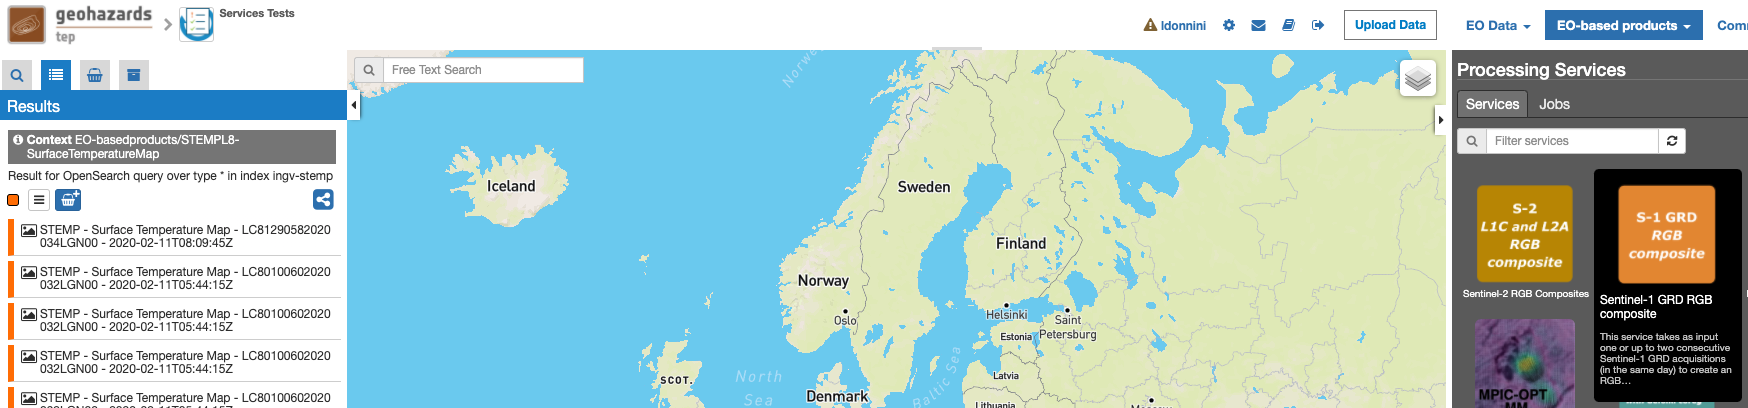
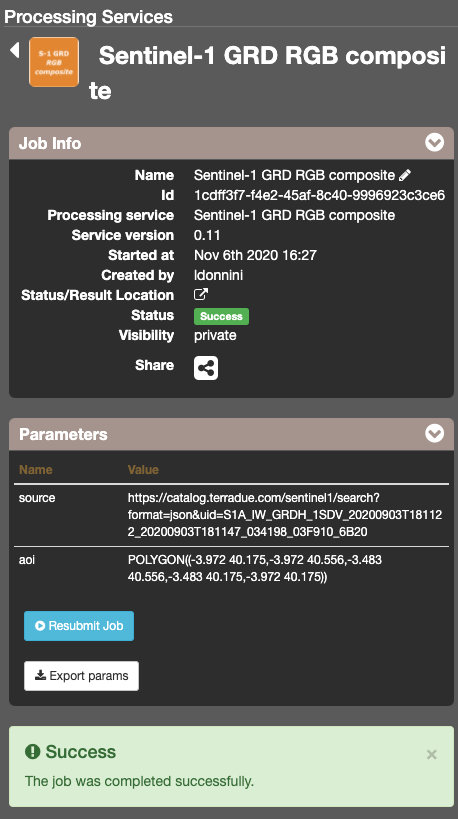
This will display the “Sentinel-1 GRD RGB composite” service panel including several pre-defined parameters values to be filled-in.
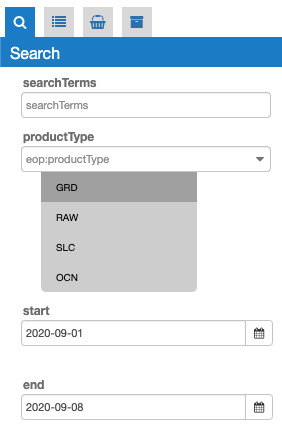
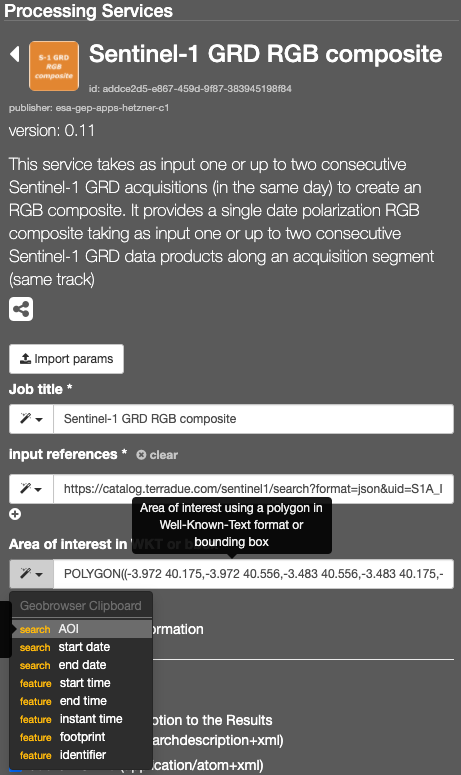
Note
you can also specify manually a different AOI in WKT format, or draw a new area on the map using the search tool and get its value from the Magic tool wizard.

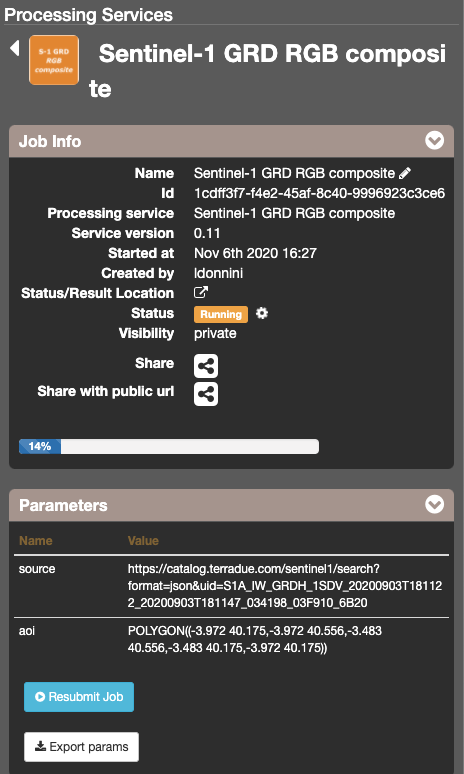

The following files are produced:
- S1A_IW_GRDH_1SDV_20200903T181136_20200903T181141_03F910_6B20 - GeoTIFF
