DSM OPT
This service is developped by CNRS-EOST (Strasbourg, France). It allows to generate Digital Surface Models (DSM) and orthoimages from stereo- and tri-stereo satellite images acquired by the VHR Pléiades satellite constellation.
EO sources supported:
- Pleiades stereo and tri-stereo, Primary
Output specifications
- Digital surface model (A metric Digital Surface Model with the following naming convention Z_Num${iteration_number}_DeZoom${resolution}_STD-MALT_metric_georef_despeck.tif in GeoTiff file format)
- Hillshade (A hillshade representation of the surface with the following naming convention Z_Num${iteration_number}_DeZoom${resolution}_STD-MALT_metric_georef_despeck_hilshade.tif in GeoTiff file format)
- OrthoImages [if Generate orthoimage is set to Yes]: An orthorectified image with the following naming convention ${name_of_the_input_image}_ortho.tif in GeoTiff format
The service is dedicated to the generation of Digital Surface Models (DSM) from stereo- and tri-stereo satellite images acquired by the VHR Pléiades satellite constellation. It allows to process pairs and triplets of stereo-images to generate very-high resolution digital surface models and orthoimages. It includes tie-point extraction, the refinement RPF sensor models, dense matching, and resampling for orthorectification. The processing chain is based on the open source MicMac project [1] and specifically on the bundle adjustment methods presented in [2]. For further information, see: https://micmac.ensg.eu/index.php/Accueil
The DSM-OPT service can only be used for specific Pleiades acquisitions (stereo-, tri-stereo-) where the convergence angle between the images is below 20°. For images with a convergence angle higher than 20°, no homologous points can be detected. Ideally, the convergence angle should be in the range 5° to 15° for a soft use of the service.
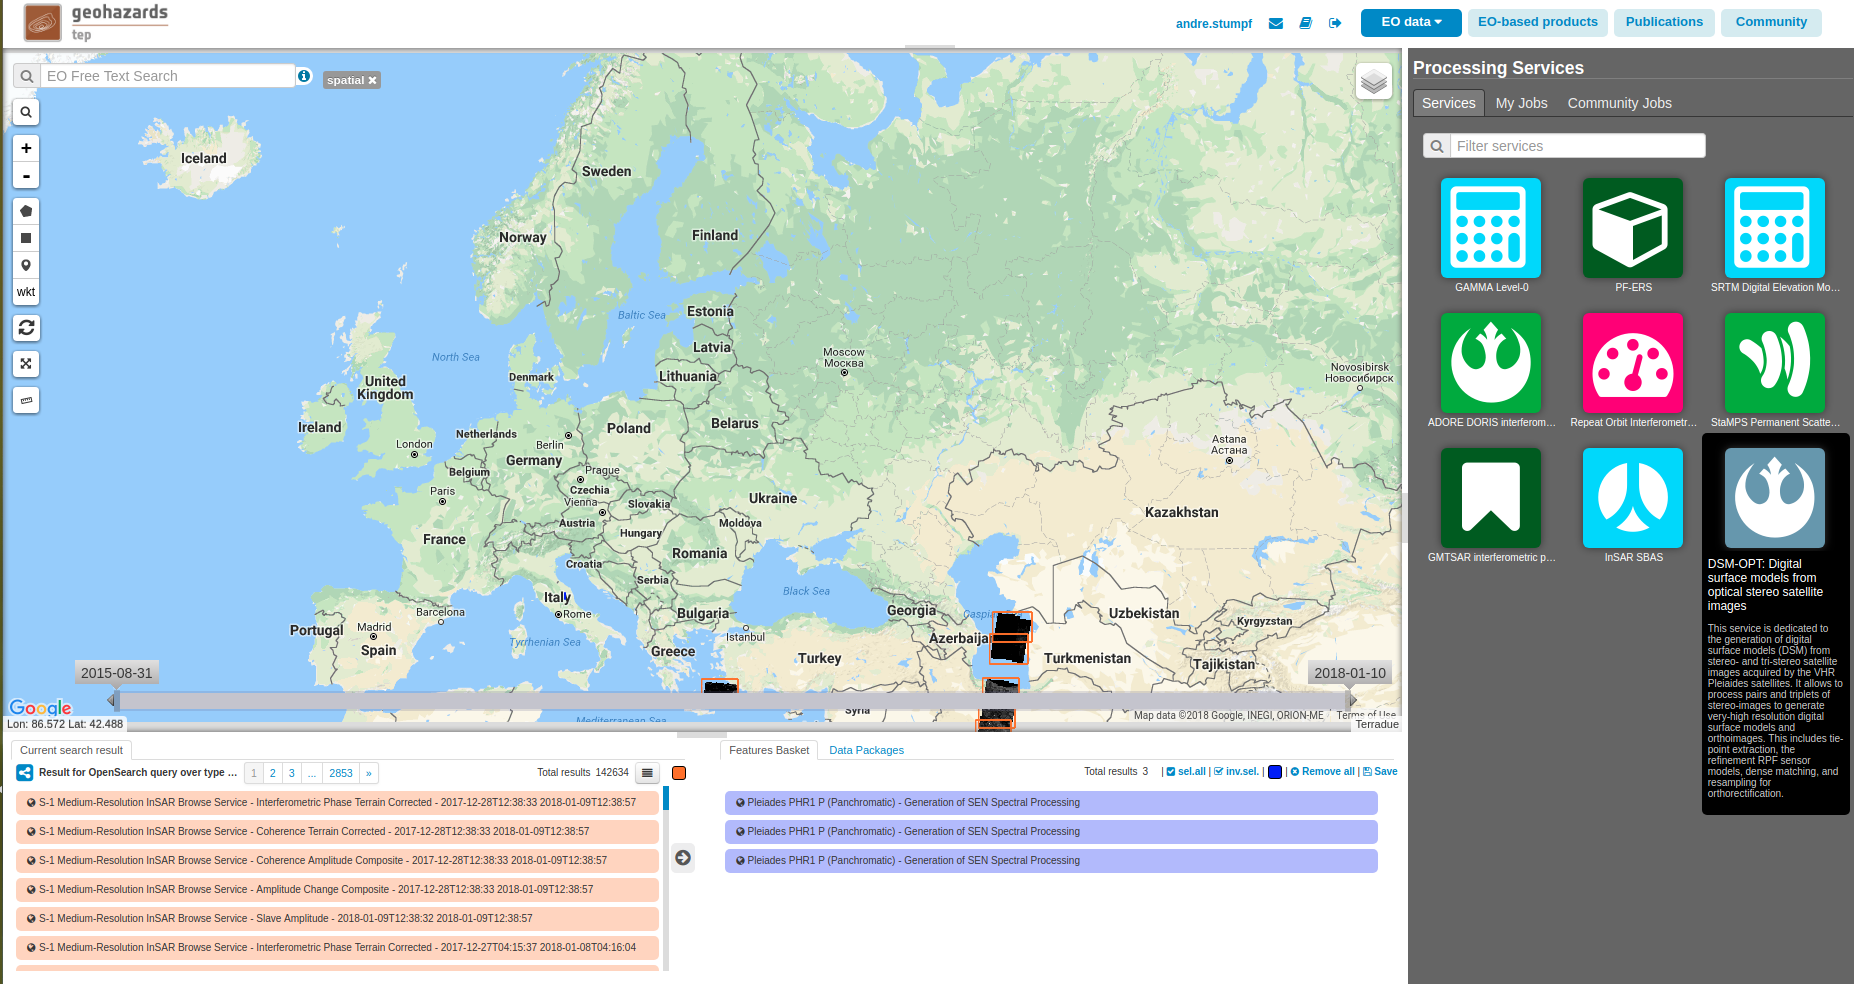
This will display the service panel including several pre-defined parameters which can be adapted.
The Geobrowser offers multiple ways to search and discover a large variety of EO-based dataset and the interested reader should refer to the Geobrowser section for a general introduction. For this tutorial we will rely on readily prepared data packages which are accessible through the “Data Packages” tab on the lower right of the screen. If you type “Pléiades” into the search box, you should be able to find a data package named “Pléiades Central Italy”. Alternatively you can access the Pléiades Central Italy data package also directly by clicking on the provided link:
Caution
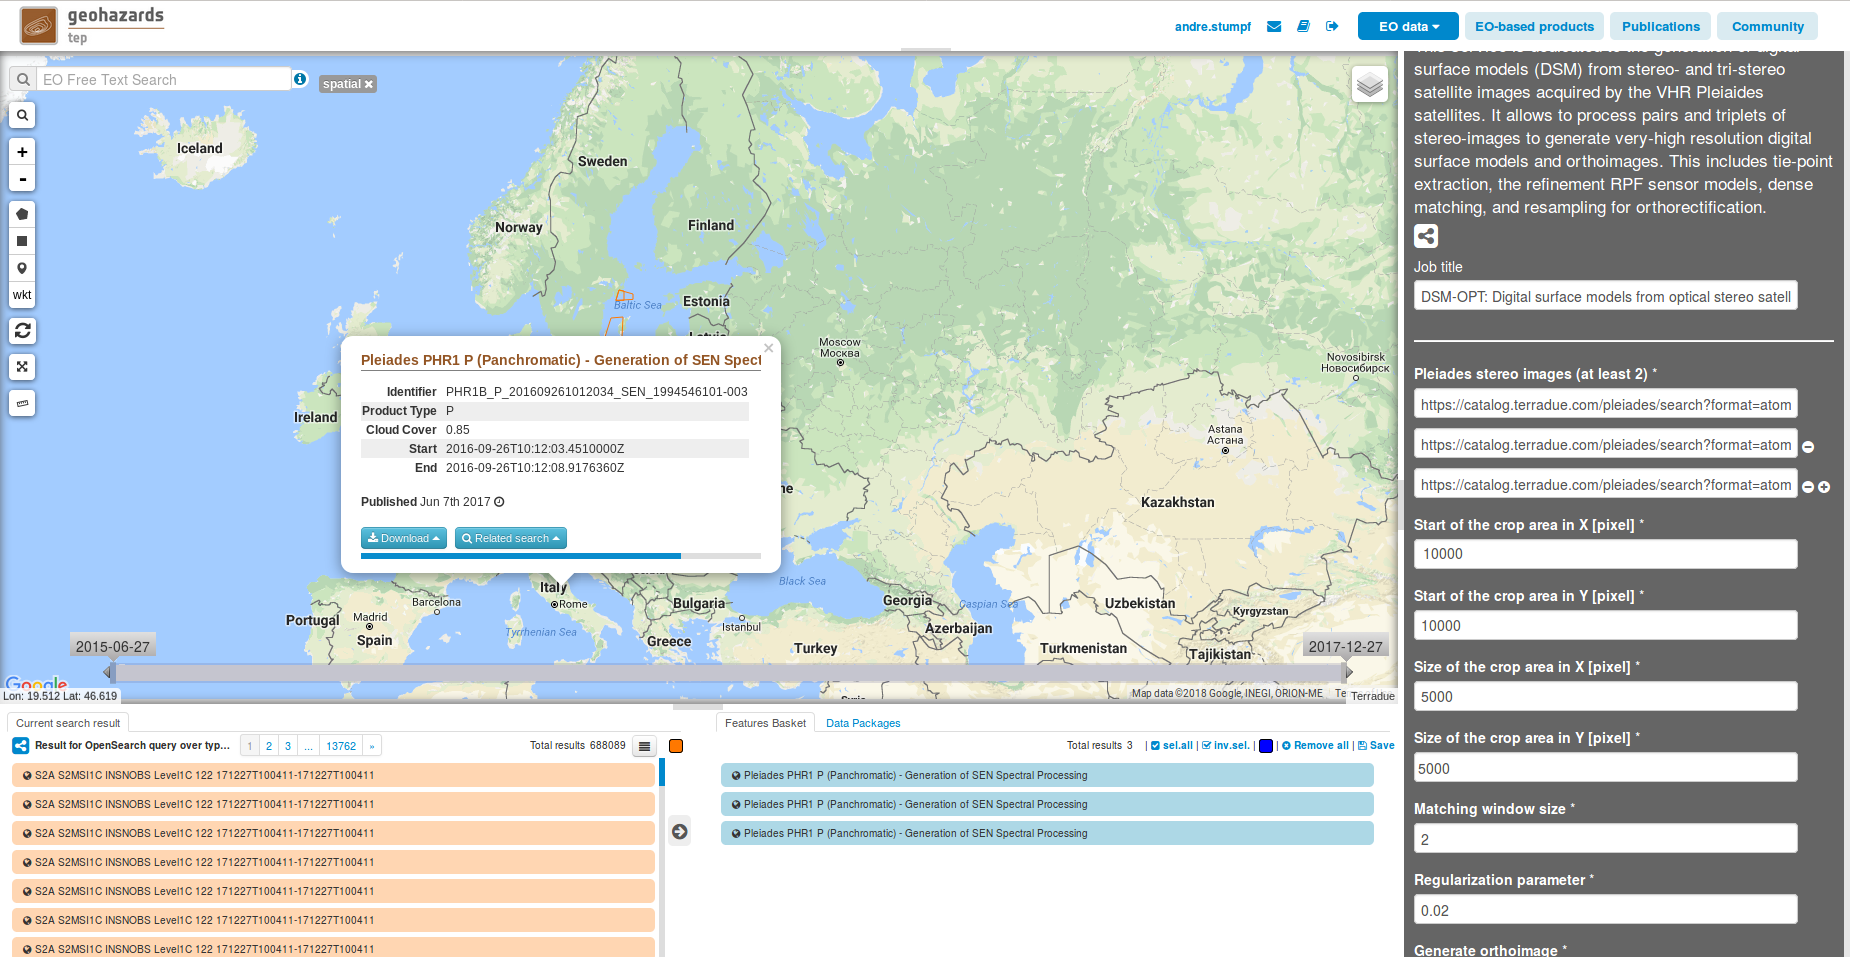
Pléiades data is subject to strict licensing terms and you have to isssure that you have the proper rights to access (and process) the data. In addition there are some cases in which images belonging to the same stereo acquisition do not share the same unique identifier (e.g. IMG_PHR1A_P_datetime_SEN_uniqueIdentifier-003_R1C1.JP2). In such cases it is necessary to rename the image files to insure that all images share the same unique identifier. The Pléiades data used for the tutorial were made available to the science community by the CEOS WG Disaster as part of the Seismic Pilot activity.
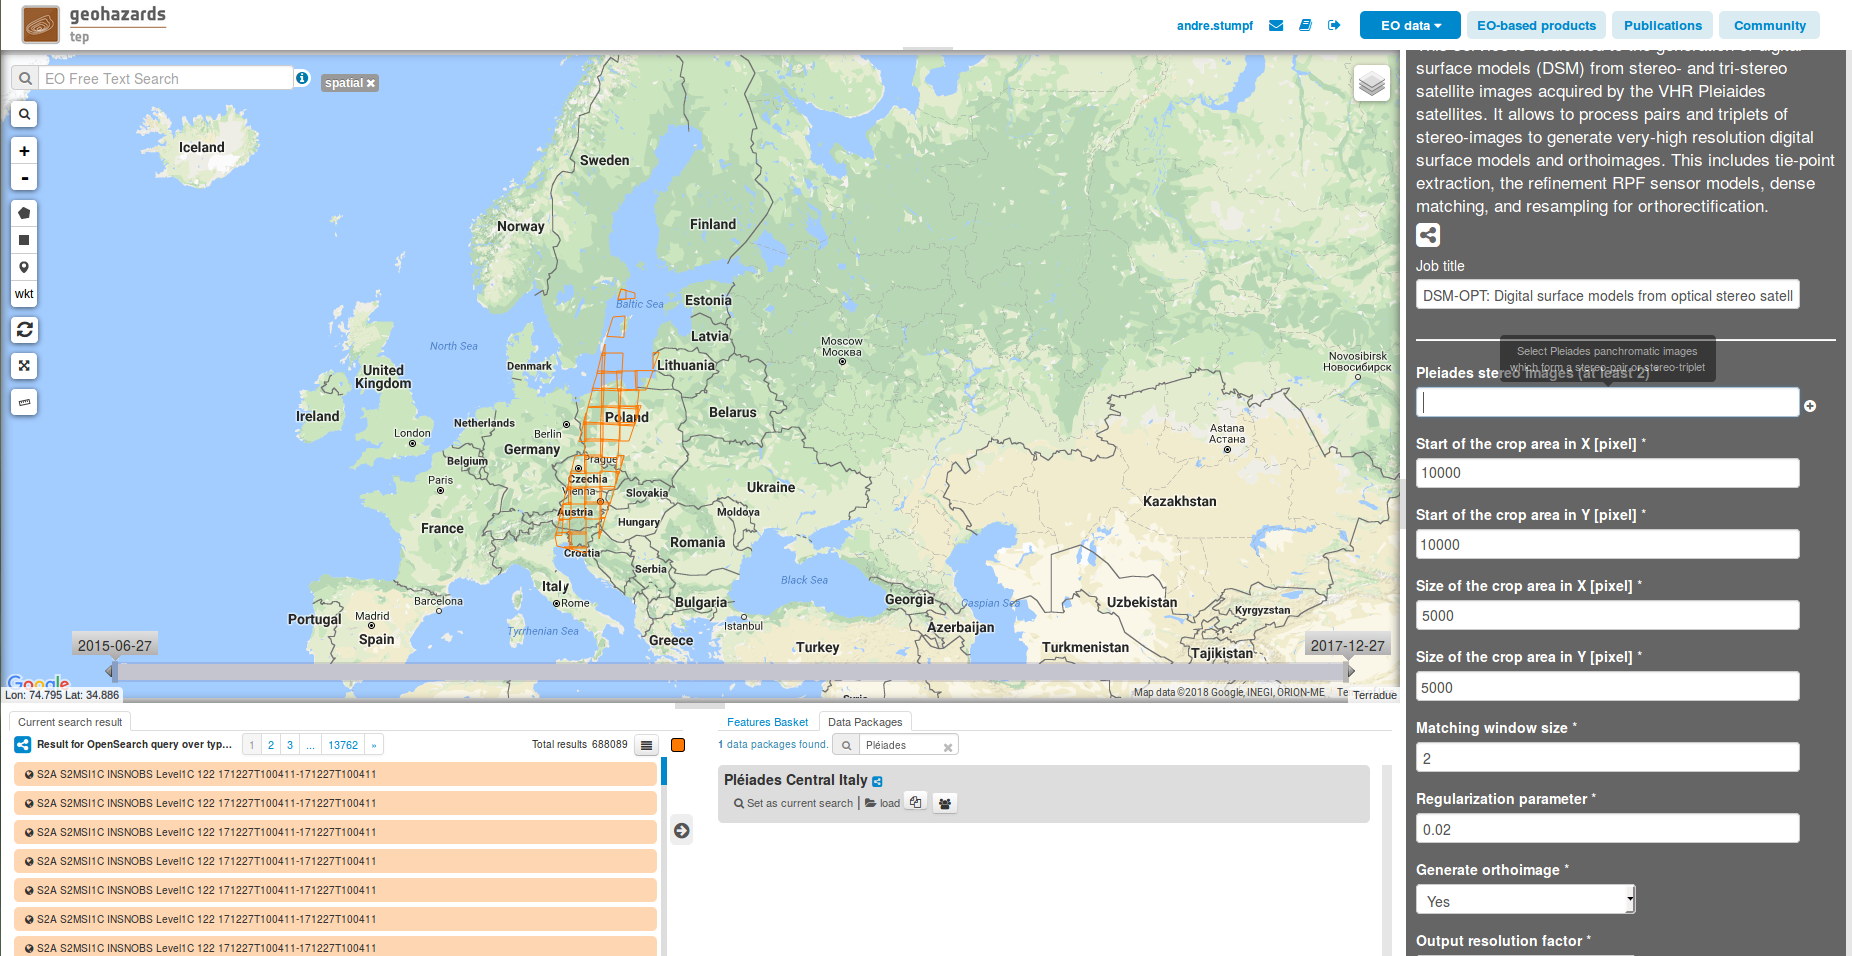
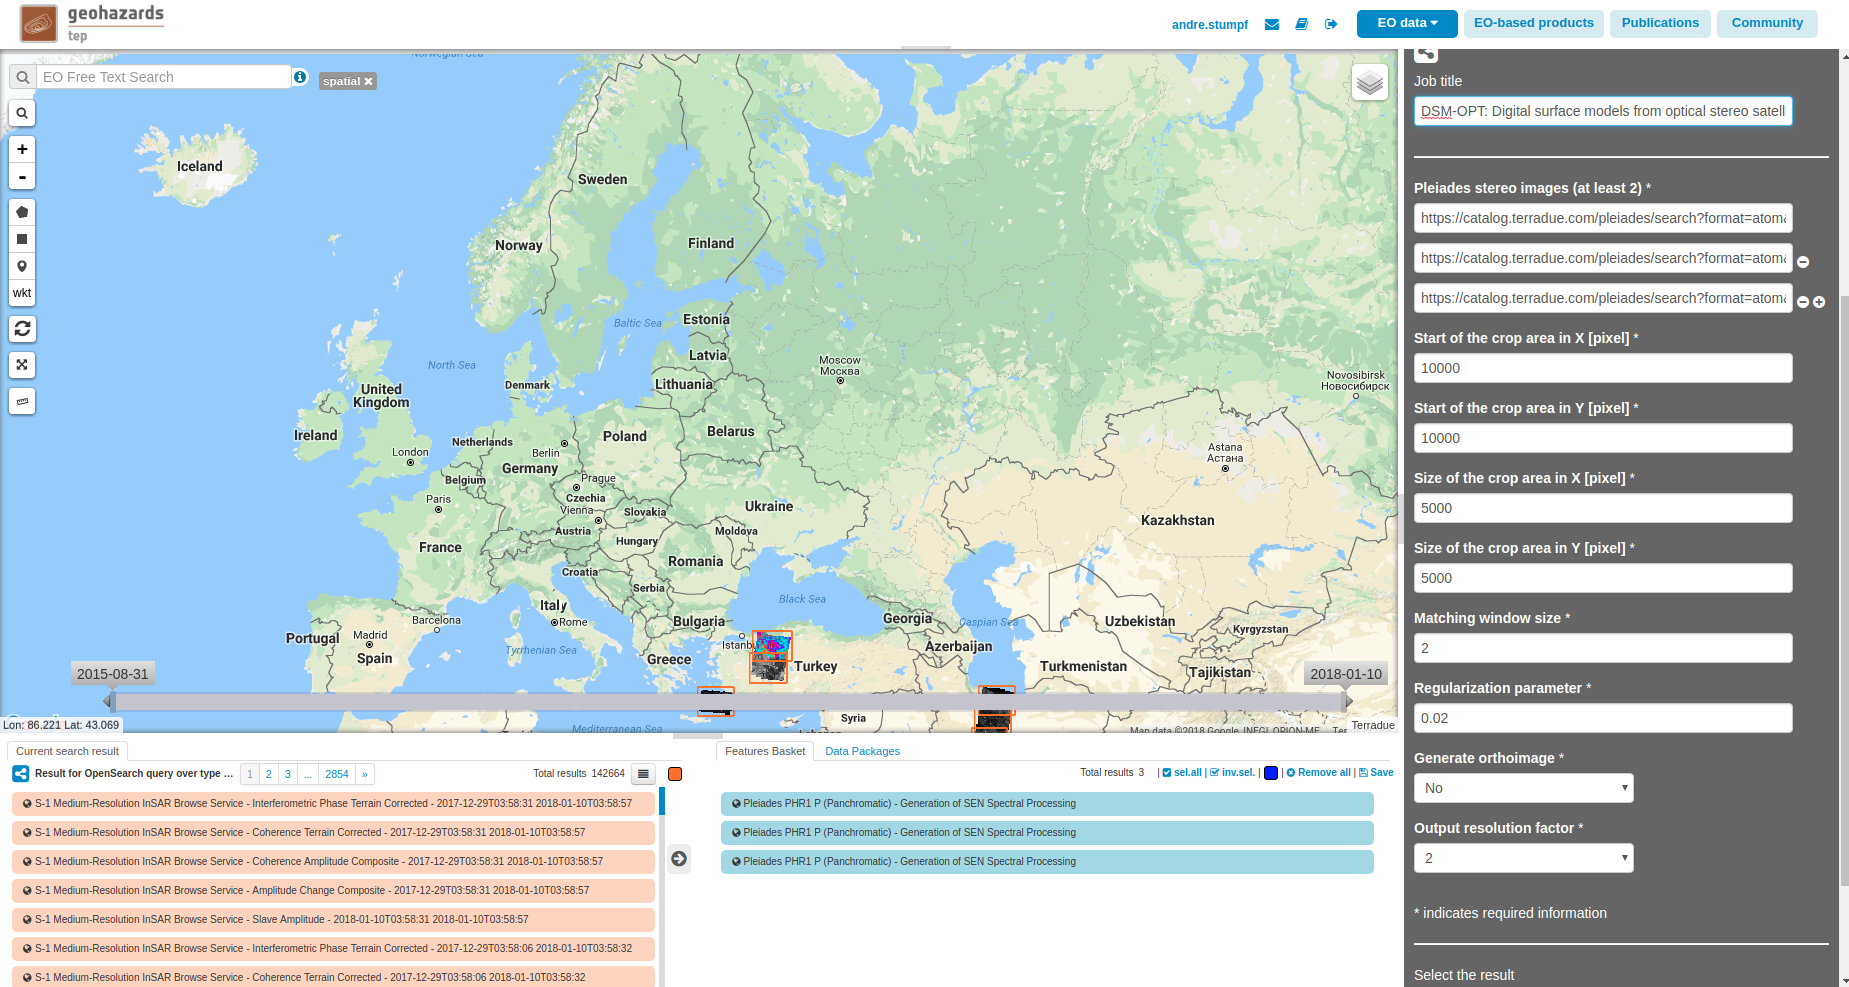
Click on the data package, hold shift and Drag and Drop all three results in the Pléiades stereo images field in the service panel on the right:
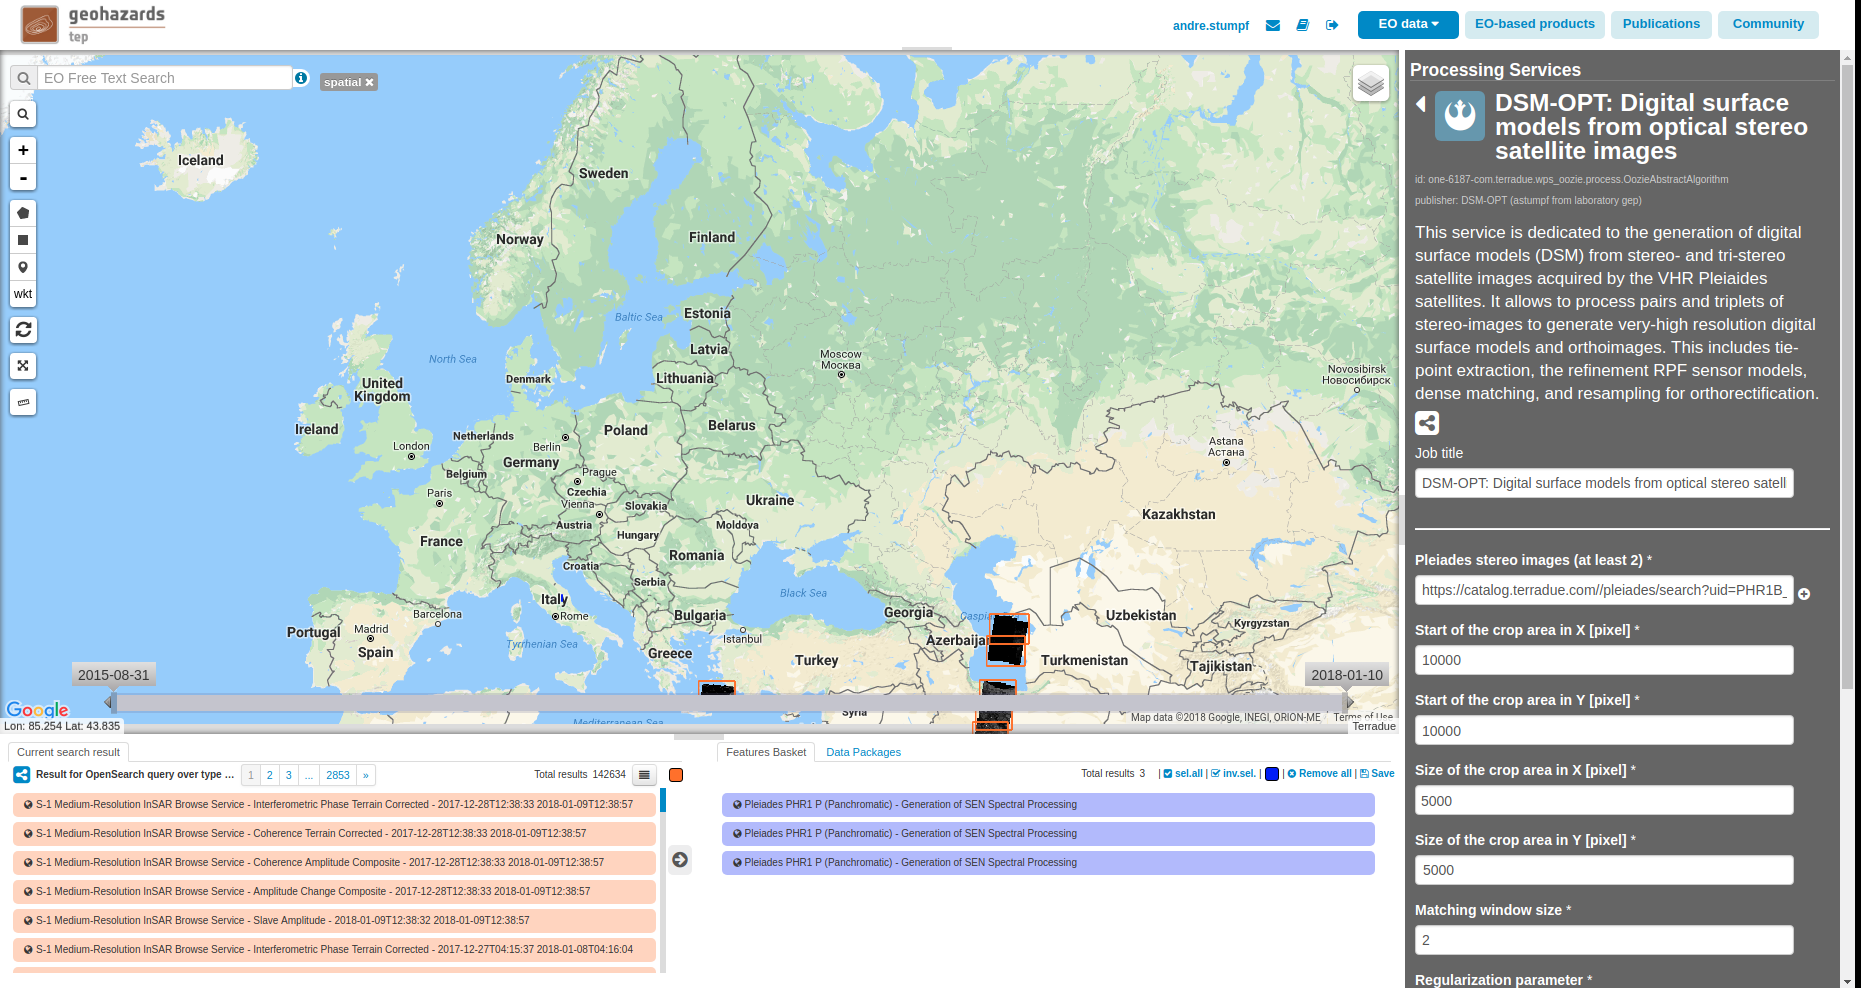
There are 8 processing parameters in total that can be adjusted. When hovering over the parameter fields, you will see a short explanation for each of the parameters.
The first 4 parameters allow to set a bounding box to process only a subset of the dataset. The crop area should be defined in terms of pixels starting from the upper left corner of the first input image. For this test we will define a small test area of 5000x5000 pixel at the center of the scene.
The figure below summarizes the parameter settings for this test.

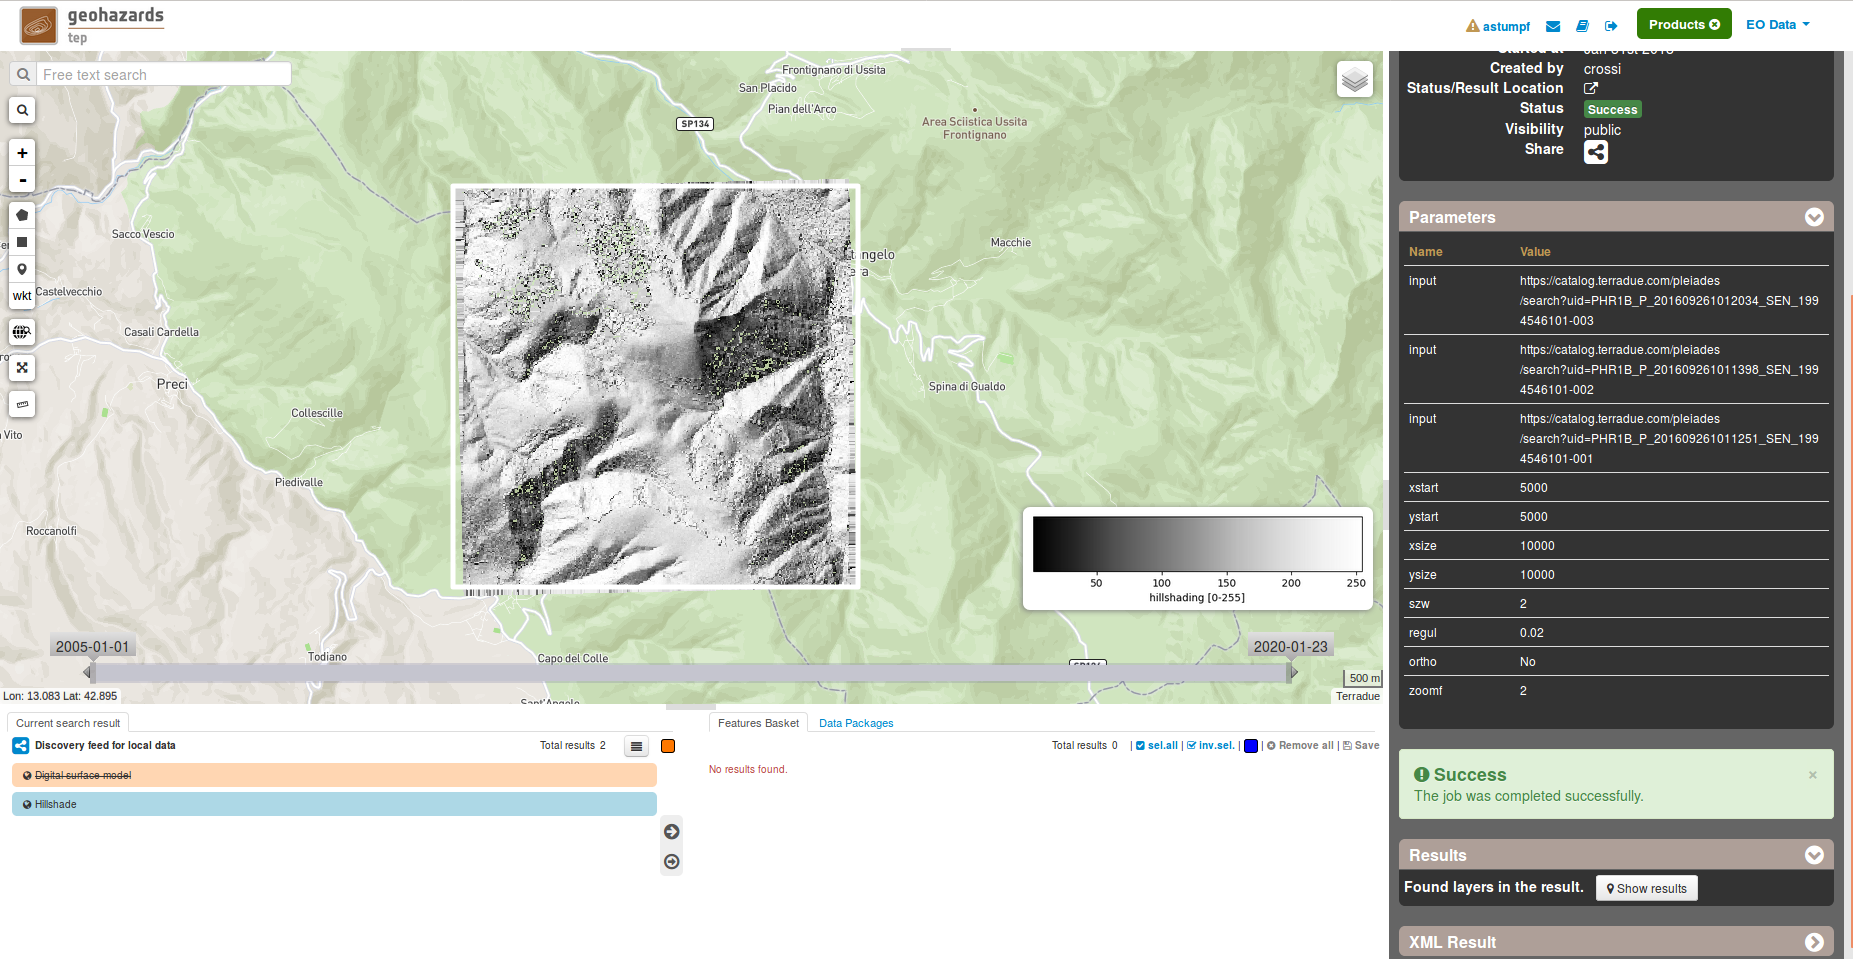
Once the job has finished, click on the Show results button to get a list and pre-visualization of the output DSM and its corresponding hillshade. An example output can be accessed here .
Note
The visualization in the Geobrowser is just a preview and the user is encouraged to download the results for further processing and analysis.
| [1] | Pierrot-Deseilligny, M.; Jouin, D.; Belvaux, J.; Maillet, G.; Girod, L.; Rupnik, E.; Muller, J.; Daakir, M.; Choqueux, G.; Deveau, M. MicMac: Apero, Pastis and Other Beverages in a Nutshell! https://github.com/micmacIGN/Documentation/blob/master/DocMicMac.pdf. Accessed: 2017-03-30. |
| [2] | Rupnik, E., Pierrot Deseilligny, M., Delorme, A., and Klinger, Y.: Refined Satellite Image Orientation in the FreeE Open-Souce Photogrammetric Tools APERO/MICMAC, ISPRS Ann. Photogramm. Remote Sens. Spatial Inf. Sci., III-1, 83-90, https://doi.org/10.5194/isprs-annals-III-1-83-2016, 2016. |
